Are you looking for a fun and creative way to make plush toys? Whether you’re creating a heartfelt gift for a friend or designing a safe and adorable toy for a child, learning how to make plush toys is an excellent skill to master. This guide will walk you through the process step by step while keeping safety and personalization in mind.
Why Make Your Own Plush Toys?
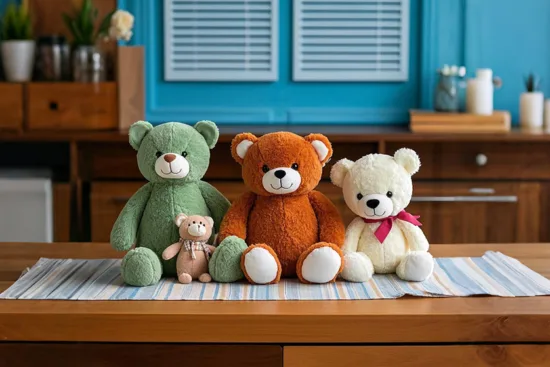
Making plush toys allows you to create something truly unique and meaningful. Whether it’s a personalized gift for a loved one or a safe plaything for a child, handmade plush toys carry a special touch that store-bought items often lack. Plus, crafting your own toys can be a relaxing and enjoyable hobby.
Step 1: Choose the Purpose and Audience
Before diving into the project, consider who the plush toy is for:
- For Friends or Family: Focus on creativity and customization. Add elements like monograms, favorite colors, or themed designs.
- For Children: Prioritize safety. Use non-toxic materials and ensure all parts are securely attached to prevent choking hazards.
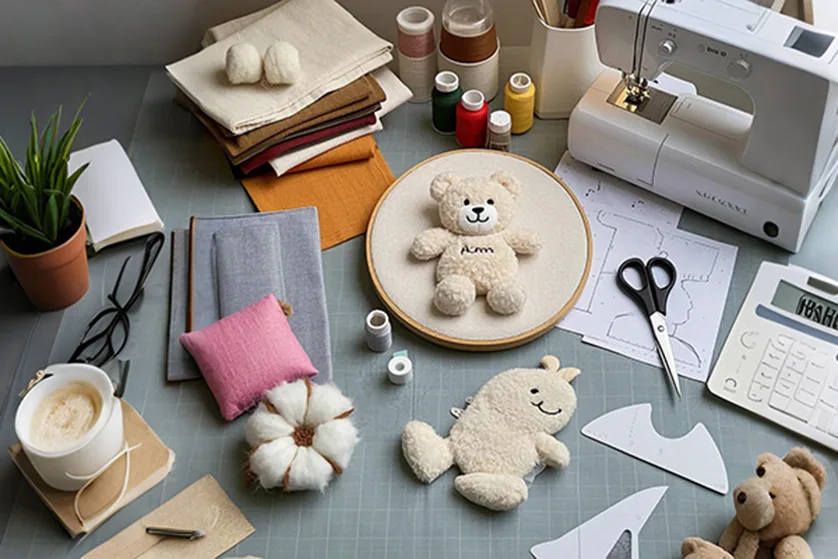
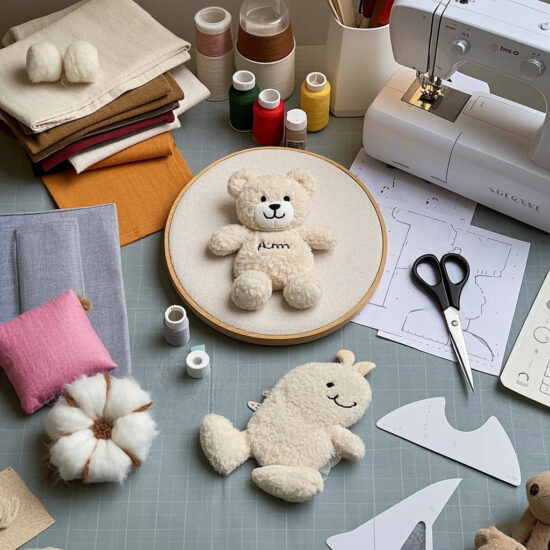
Step 2: Gather Your Materials
Having the right materials makes the process smoother. Here’s what you’ll need:
- Fabric: Soft, durable fabrics like fleece, cotton, or felt work best.
- Stuffing: Polyester fiberfill is ideal for its softness and affordability.
- Sewing Tools: A sewing machine or needle and thread, depending on your preference.
- Templates: Download free patterns online or create your own.
- Safety Features: For children’s toys, use embroidery floss or fabric paint instead of plastic eyes or buttons.
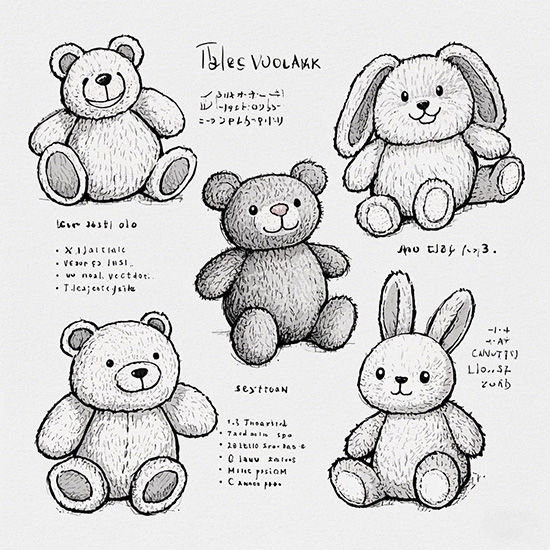
Step 3: Design Your Toy
Sketch out your design or choose a pre-made pattern. Consider the recipient’s preferences:
- For Adults or Older Kids: Incorporate intricate details like detailed faces, clothing, or accessories.
- For Young Children: Keep the design simple and avoid small parts. Use embroidered features instead of buttons or beads.
Step 4: Cut Out the Fabric Pieces
Using your template, carefully cut out the fabric pieces. Ensure precision to avoid misaligned seams later. If making a toy for a child, double-check that all edges are smooth to prevent sharp corners.
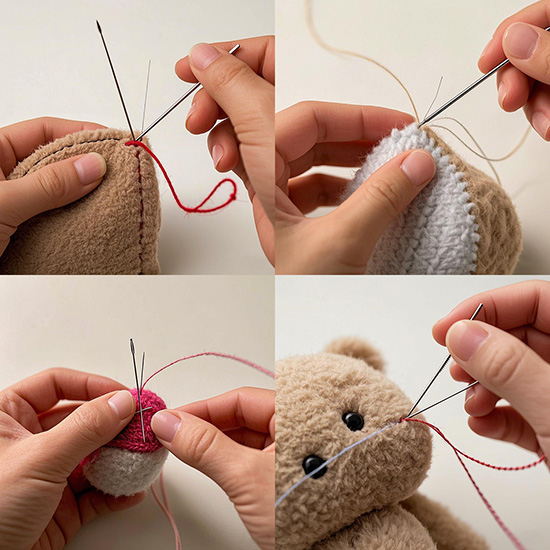
Step 5: Sew the Pieces Together
Sew the fabric pieces together, leaving a small opening for stuffing. If using a sewing machine:
- Use a straight stitch for strong seams.
- For hand-sewing, a backstitch ensures durability.
Safety Tip: For children’s toys, reinforce seams with an extra layer of stitching to prevent unraveling.
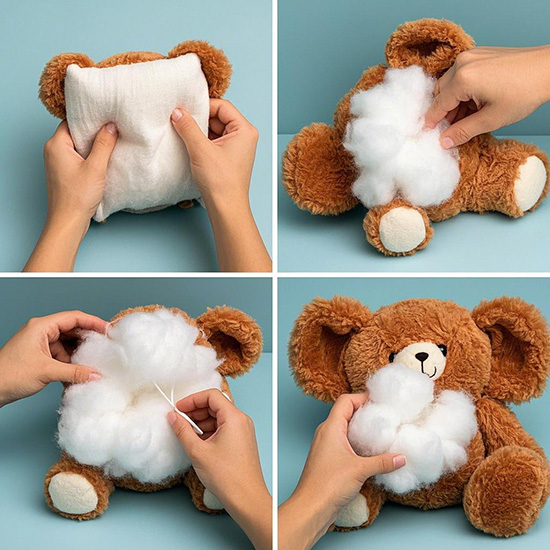
Step 6: Add Stuffing
Fill the toy with stuffing until it reaches your desired firmness. Be gentle to avoid tearing the fabric. Distribute the stuffing evenly for a balanced appearance.
Step 7: Close the Opening
Once stuffed, close the opening either by hand-stitching or using your sewing machine. For a polished finish, use a blind stitch technique to hide the seam.
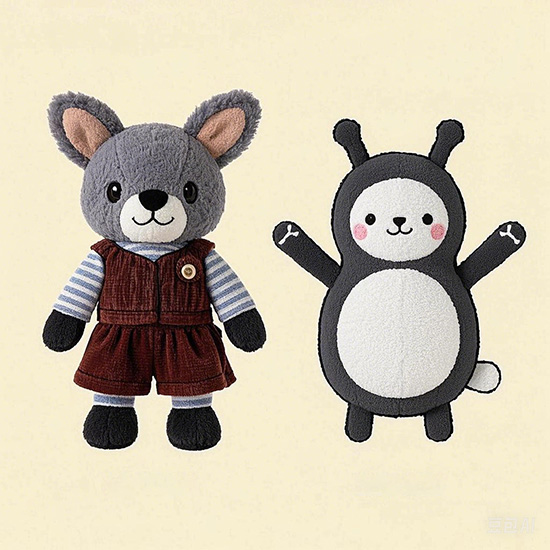
Step 8: Add Personalized Details
Bring your plush toy to life with details:
- For Adults or Older Kids: Attach buttons, ribbons, or patches for added charm.
- For Children: Use embroidery floss to sew on eyes, noses, and mouths. Avoid small, detachable parts that could pose a choking hazard.
Tips for Making Safe and Durable Plush Toys
- Use Non-Toxic Materials: Ensure all fabrics and threads are safe for children.
- Secure All Parts: Double-check that every piece is firmly attached, especially for toys intended for young kids.
- Personalize with Care: Add names, initials, or themed designs to make the toy extra special.
Example: Creating a Child-Friendly Plush Toy
If you’re making a plush toy for a child, here’s how you can ensure safety:
- Eyes and Noses: Instead of plastic eyes, use embroidery floss to sew on circular stitches for eyes and a triangular stitch for the nose.
- Mouth: Create a simple smile with a curved line of embroidery.
- Fabrics: Choose soft, washable materials that can withstand frequent handling.
Conclusion
Learning how to make plush toys is not only a rewarding craft but also a thoughtful way to create meaningful gifts. By following these steps and incorporating safety considerations, you can craft plush toys that bring joy and comfort to both children and adults alike. Start with simple designs and gradually experiment with more complex projects as your skills improve.
Related articles